We were recently contracted to do the sheetrock work on a 7,000 square foot, $4+ million dollar new home being constructed on Southport Island. Since the home had three areas which featured curved ceilings, we figured it would be an ideal time to shoot a video and explain how to hang, tape and finish curved drywall.
If you are not aware, gypsum board comes in several different thicknesses, ranging from 1/4 inch all the way up to 1″ thick. Half inch is the most common, and can be found at all the major building supply stores such as Home Depot and Lowe’s. One inch tick wallboard comes in 2′ x 8′ sheets and is used for increased fire protection in places like elevator shafts, and is typically only used in commercial buildings.
As you might assume, the thicker the panel, the less flexible it is. For this reason, 1/4-inch thick panels are what we use in curved applications, and we install 2 layers to get the desired 1/2 inch thickness. Even though 1/4 inch gypsum board is quite flexible to begin with, when the application is on a curved surface with a small or tight radius, sheetrock, being brittle, can crack and the piece at that point is pretty much ruined.
The solution is to wet the sheet before installing it. Most people assume that drywall is ruined if it gets wet. Sometimes that is true. For instance, if a tub/shower is leaking and continually soaking the gypsum board in the same spot – never allowing it to dry out – then mold will set in and at that point the drywall will need to be replaced. There are many other examples that could be cited, but they all share the common traits of excessive moisture and/or extended exposure to it.
But let’s face it, gypsum is a mineral found in nature, it gets wet. The paper facing on wallboard is made from trees. Trees are found in nature; they get wet. Both trees and gypsum get wet in their natural setting and do just fine. So the fact that drywall gets wet doesn’t immediately imply that it is ruined. As a matter of fact, the manufacturer’s data sheet lists bending radii details for both dry and wet.
Now that we’ve laid the foundation for the wetness issue, the fact is that gypsum board is brittle. Brittle boards can easily break when one attempts to bend them. The way to make them less brittle, and much less likely to break when bending, it to moisten them. That’s what we do in the video below. We use a sprayer to completely wet the back side of the board, then we let the water soak into the board for about 15 minutes.
In the video, we spray the back side of the sheet because we are applying it to an inside radius, and it is the back side of the sheet that needs to stretch. If we were applying the board to an outside radius, then we would have wet the front side of the sheet, as that is the side that would be doing the stretching.
The radius in the video is just over 80″, which is not that sharp of a bend. Based on experience, we knew that one application of water and 15 minutes of time to allow the water to soak into the sheet would be sufficient to soften the board enough to easily form to the arched frame of the ceiling. If the radius had been smaller, meaning a sharper curve, we may have had to apply water another time or two, again allowing the water to soak in for 15 to 30 minutes after each application.
Once the board is ready to be fastened to the arch, we do so with 4 workers. The more hands applied to assist in the bending process, the better.
Attaching the sheet to the arch with screws can be done in one of two ways, either start in the middle and work out from there, or start on one end and work towards the other. The crucial factor is to hold the board tight to the framing behind the sheet when attempting to fasten it, making sure there isn’t a gap between the sheet and the framing.
Additionally, you’ll need to use more screws than normal, and adjust your depth setting on your driver so that your screws don’t pop through the facing. Wet drywall is not as strong, and it is easier for the screws to rip through the paper facing of the wallboard. If necessary, you can set the depth of your fastening tool so that the screws are simply flush with the face of the board, then after an overnight of drying, finish setting the screws so that they are slightly recessed as they should be.
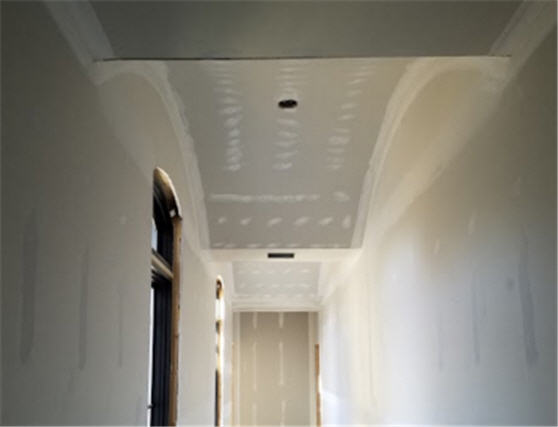
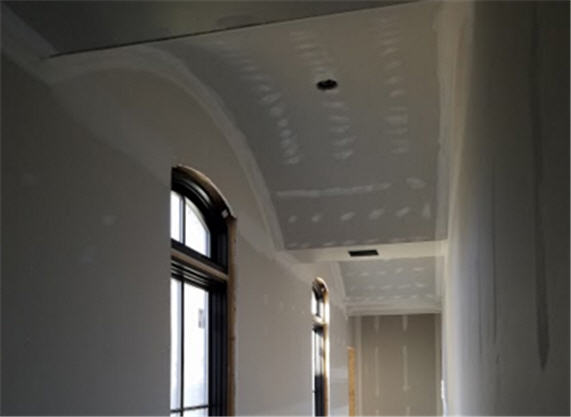
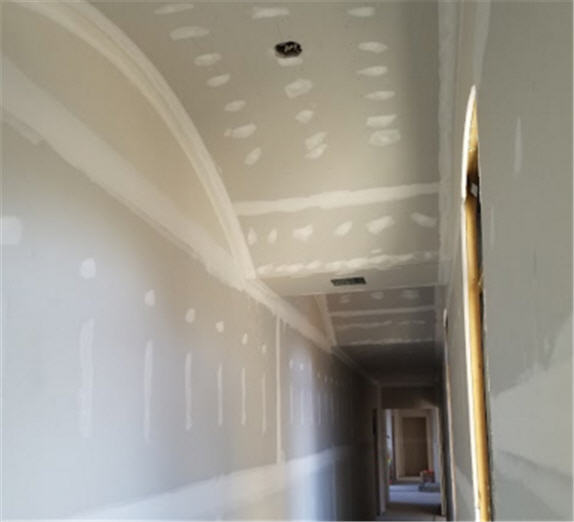
Mudding, taping and sanding are performed the same as a flat ceiling. In this instance, the radius was not that sharp and the paper tape flexed enough to not kink or wrinkle. If the radius was smaller, we would have had to make some relief cuts in the tape to prevent kinking and wrinkling.
Here is the video that illustrates how to hang drywall on an arched or curved ceiling. This footage of the crew installing an arched ceiling was taken on the $4+ million new home in Southport. We’ve done many round drywall celinings in walls throughout Southern Maine, including Portland, Cape Elizabeth, Falmouth Foreside, and Kennebunk, to name a few.
Here are some more pics after mud & tape have been applied: